
Using the Address Book
The customer's Address Book streamlines quoting and booking by storing frequently used addresses with preset details like accessorials, shipping hours, and preferred carriers. It reduces errors, saves time, and supports better communication with optional text or email notifications.
Saving an Address
There are three main ways to save an address to a customer's address book.
Option 1: From the LTL Pickup and Delivery Booking Page
- Enter the address details in the Pickup and Destination forms on the Pickup & Delivery page.
- Check the Save to Address Book box under the address you would like to save.
- Select Save and Continue.
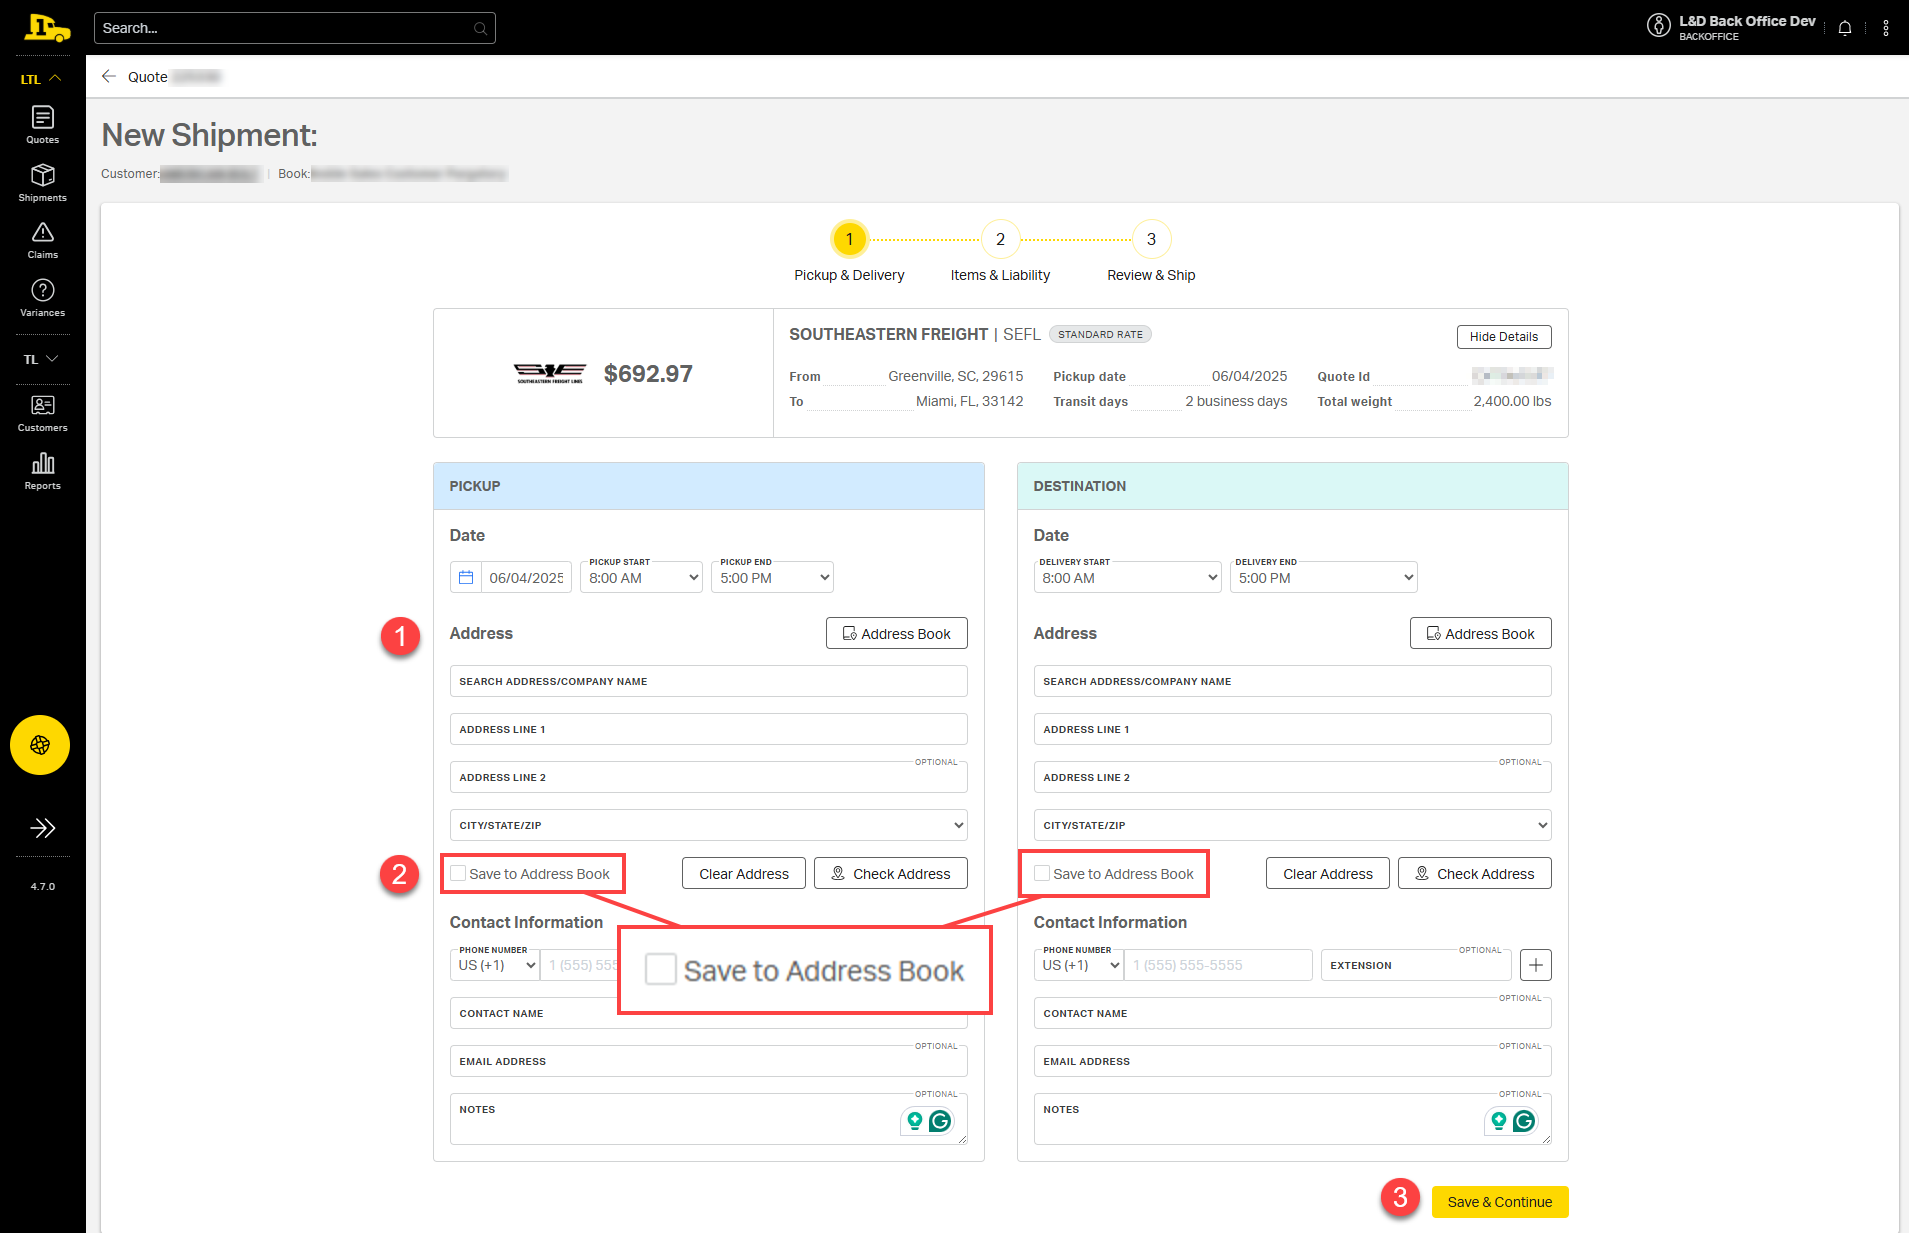
⚠️ Note: Saving the address from this form will also save the corresponding accessorials and contact details from this shipment.
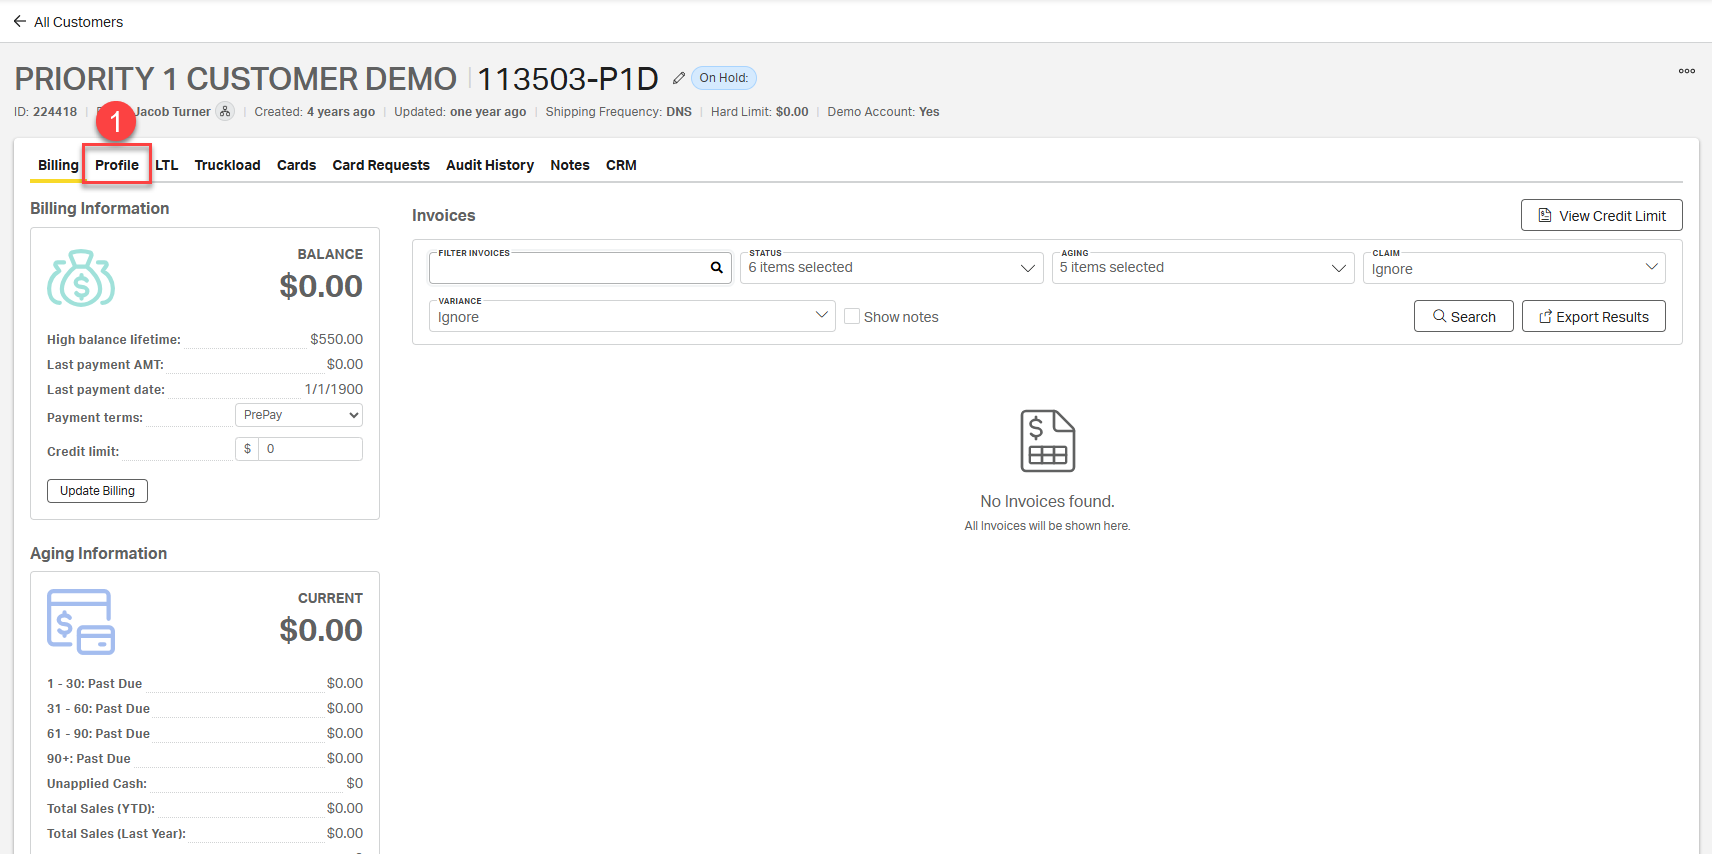
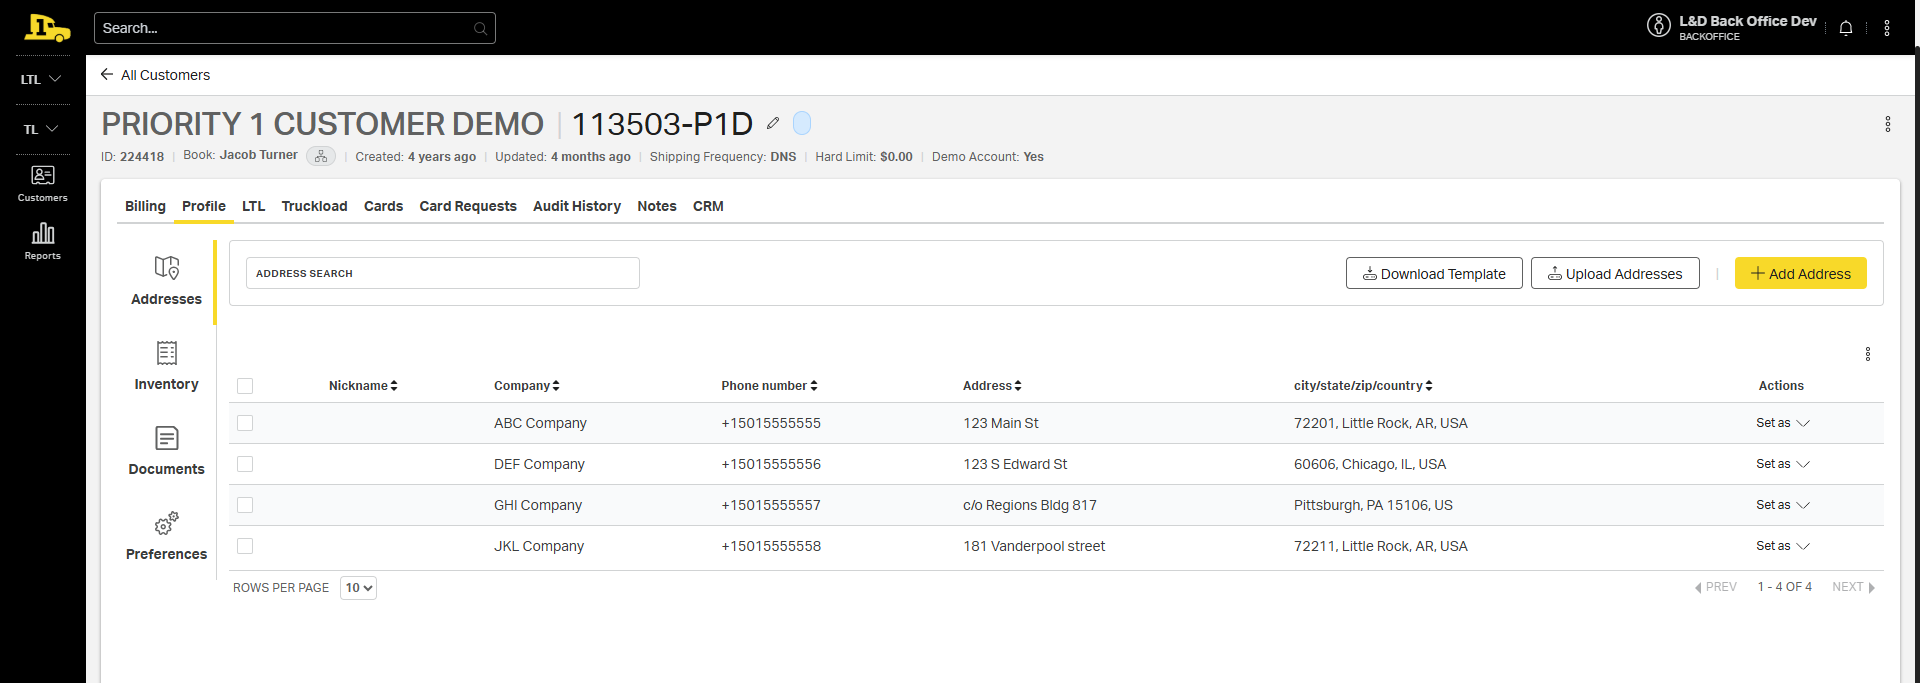
Option 2: Individually from the Addresses Tab
1. Navigate to the Profile tab on the customer account.
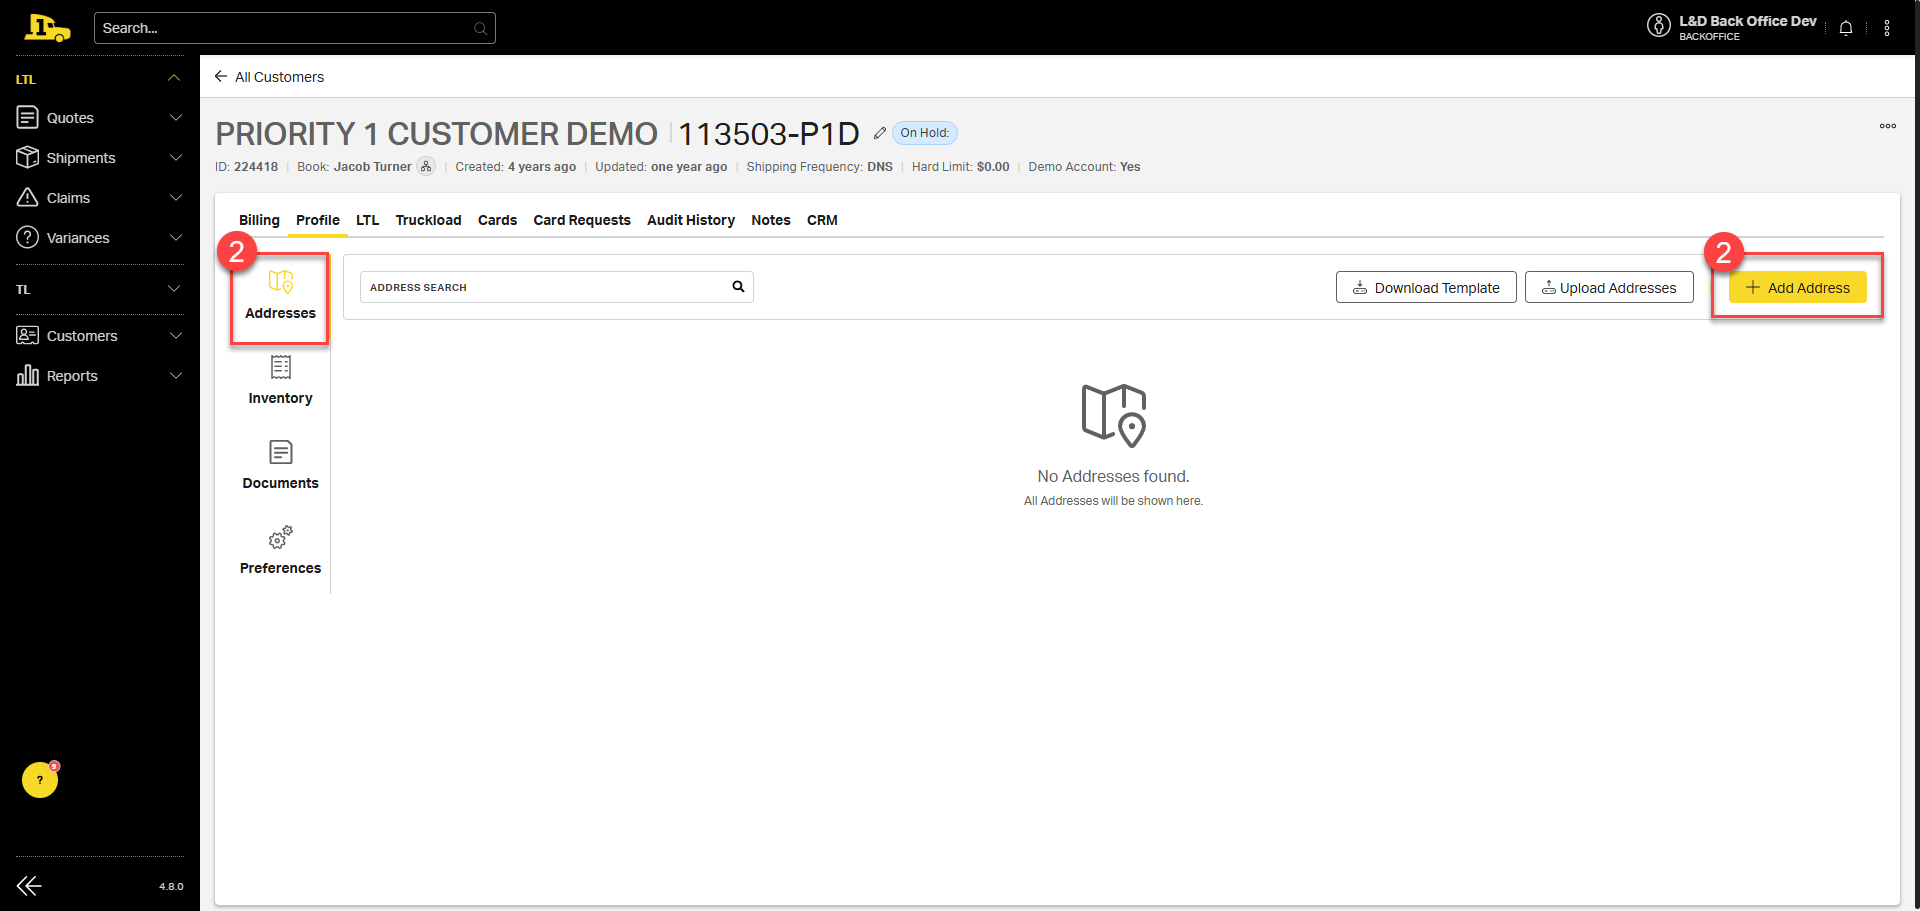
2. In the Addresses section, click + Add Address.
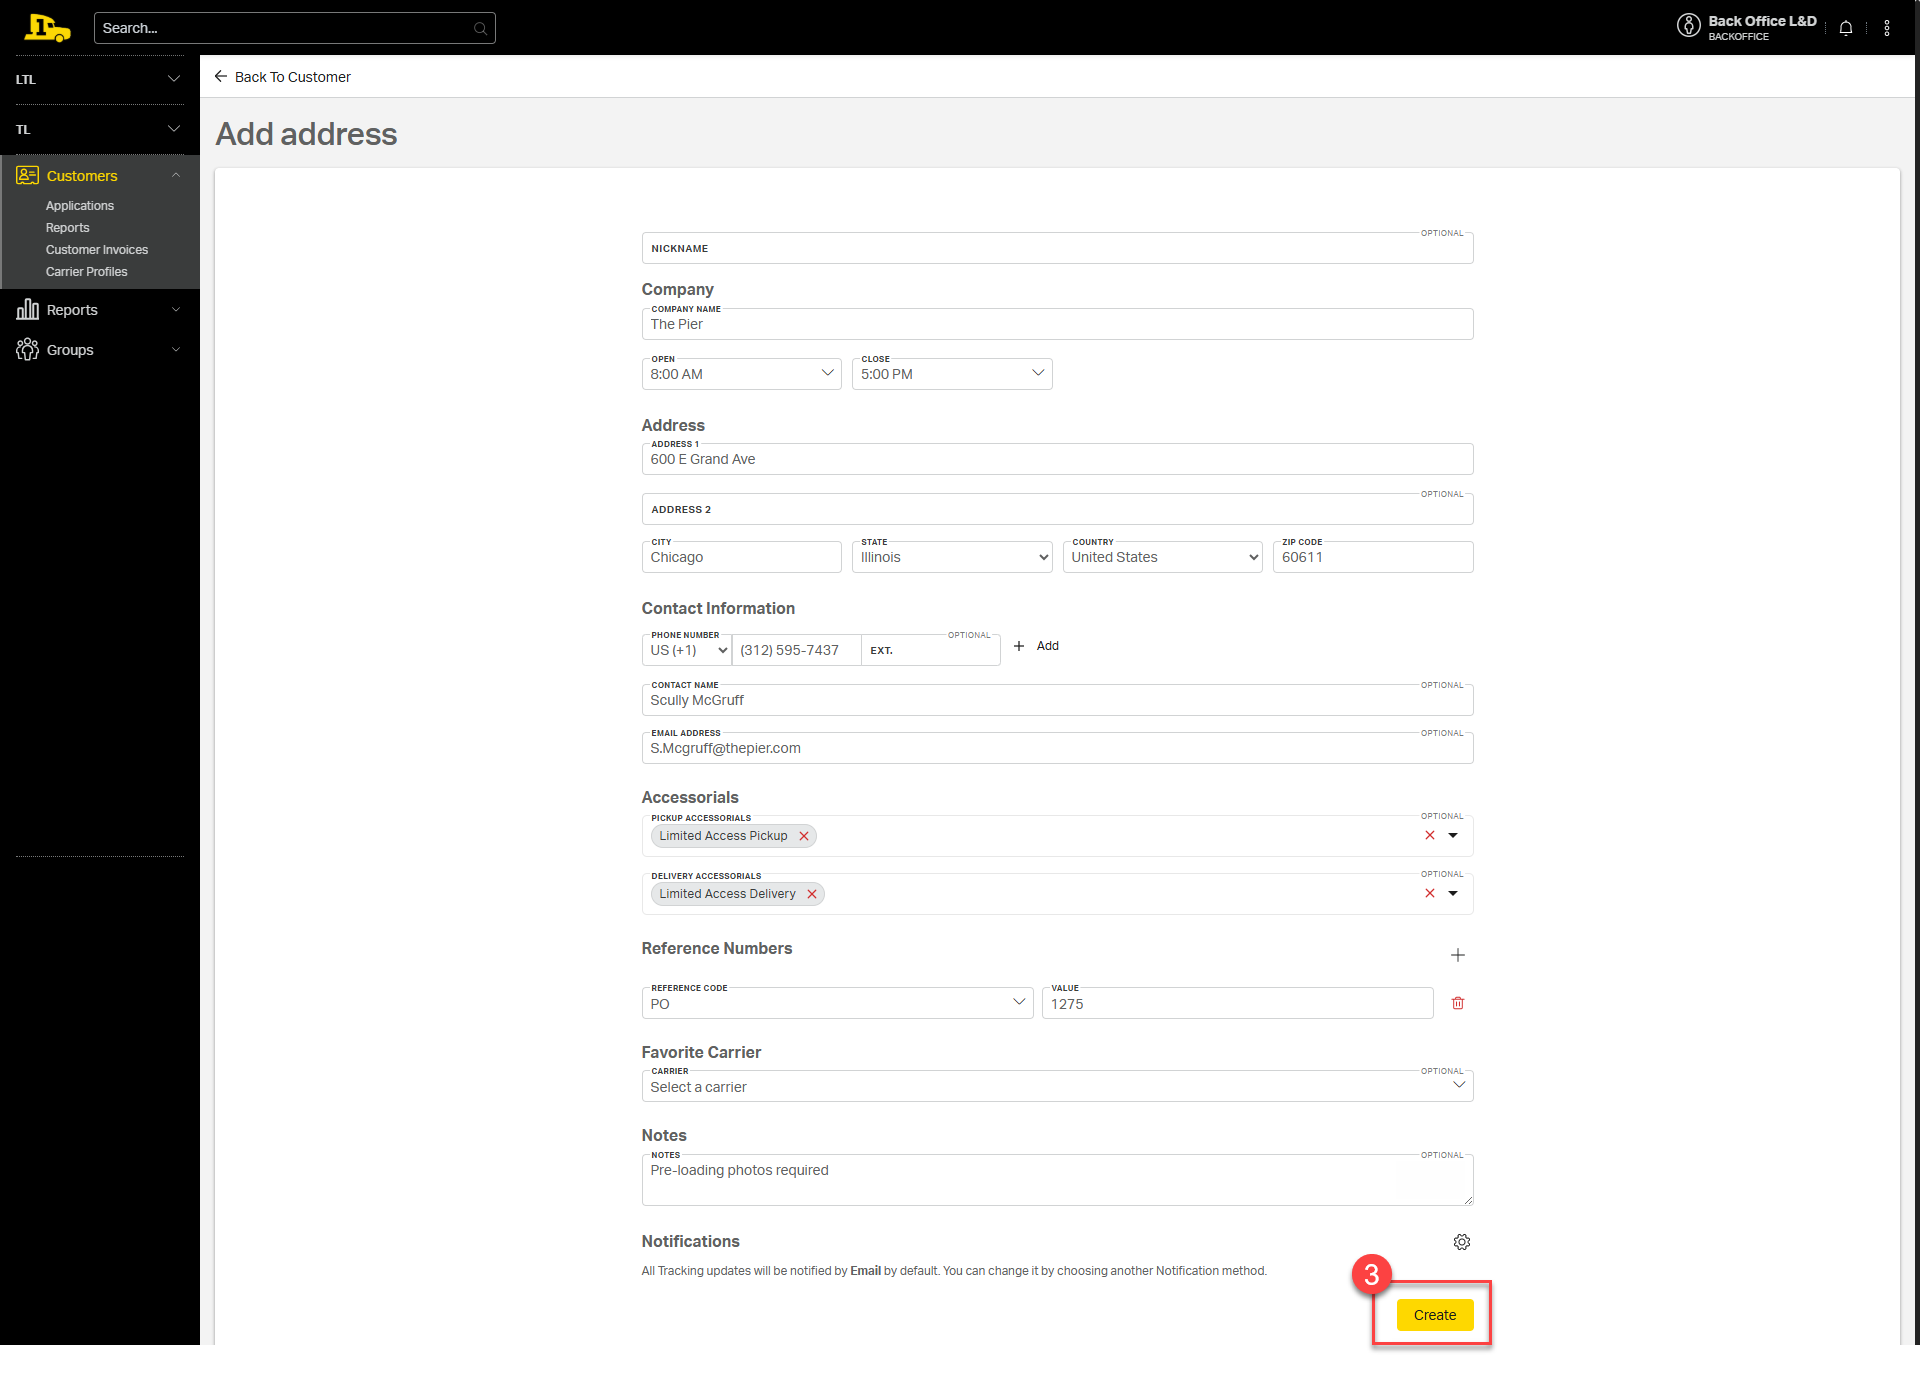
3. Complete the form and click Save to store the address for future use.
Option 3: In Bulk from the Addresses Tab
1. Navigate to the Profile tab on the customer account.
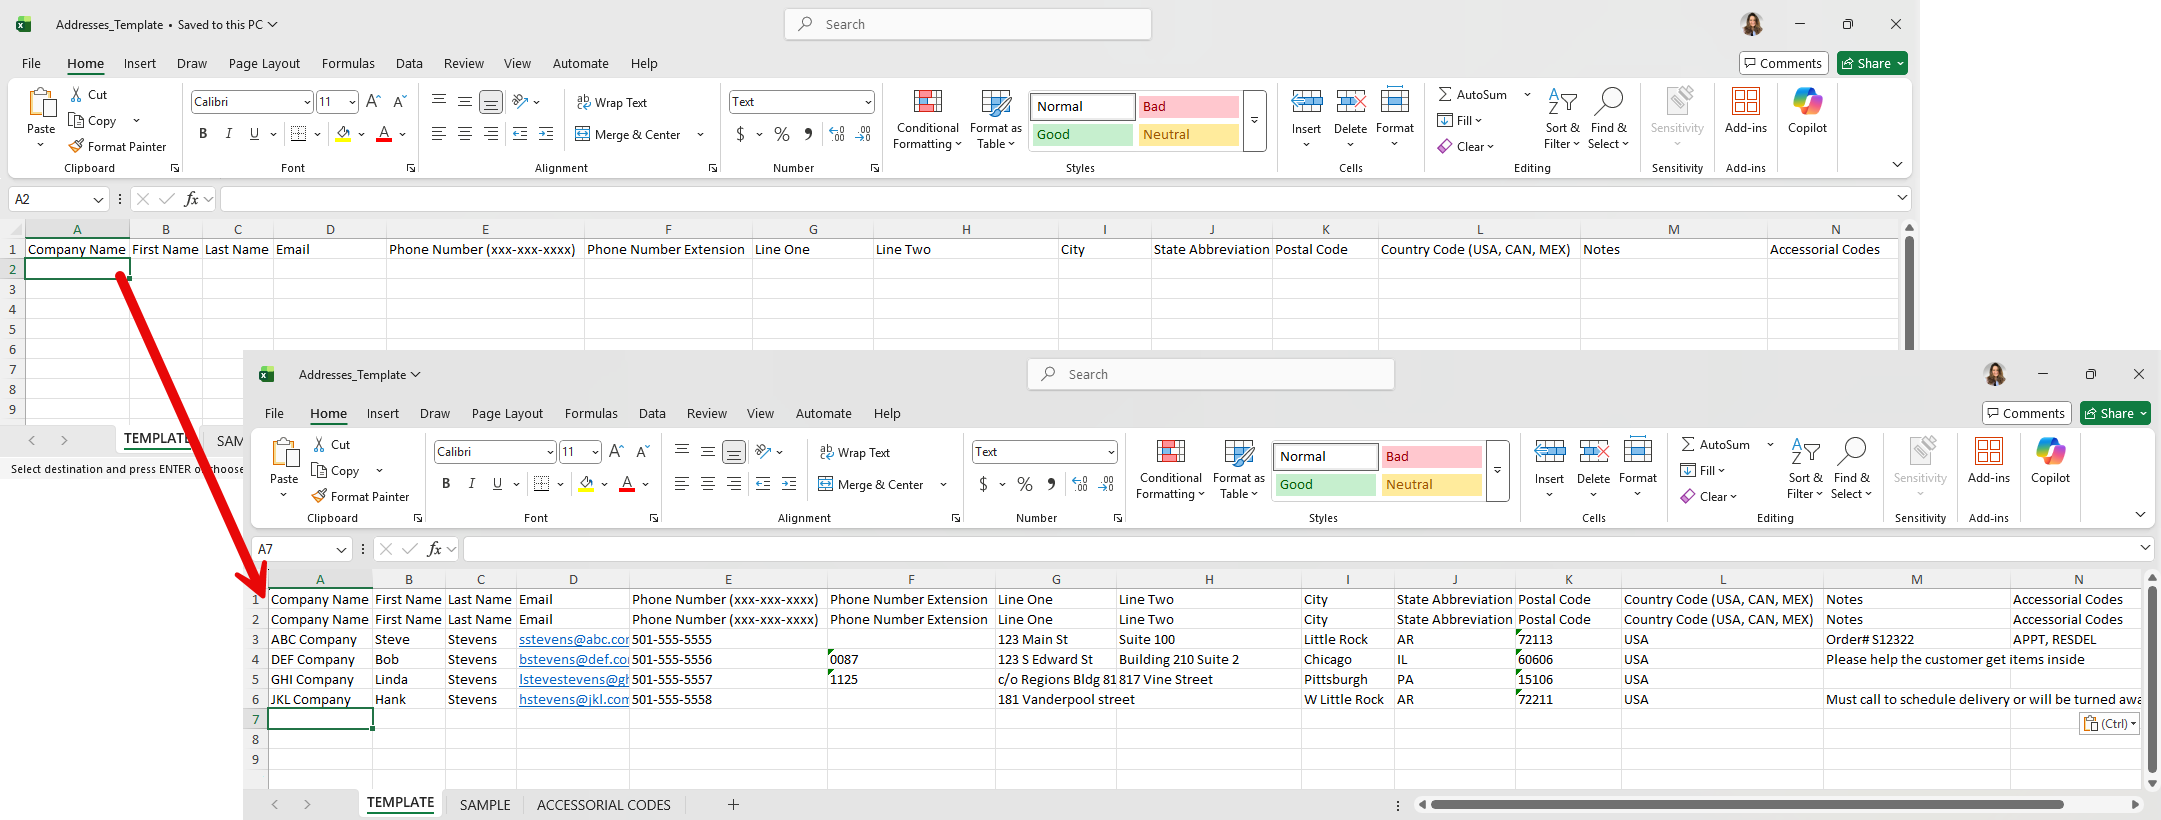
2. In the Addresses section, click Download Template.

3. Open the resulting Excel file and fill in the details for each address, including any needed accessorials.
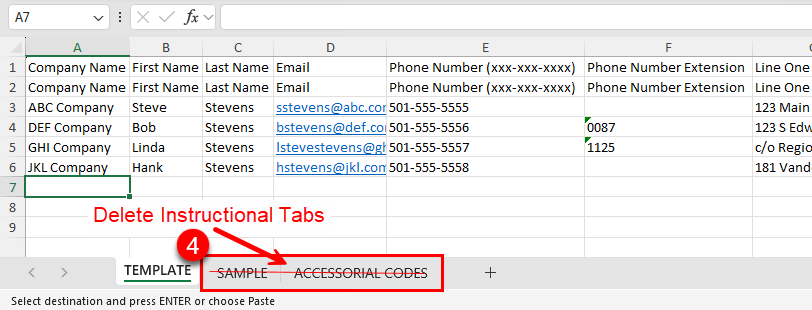
4. Delete the Sample and Accessorial Codes instructional tabs before saving and closing the file.
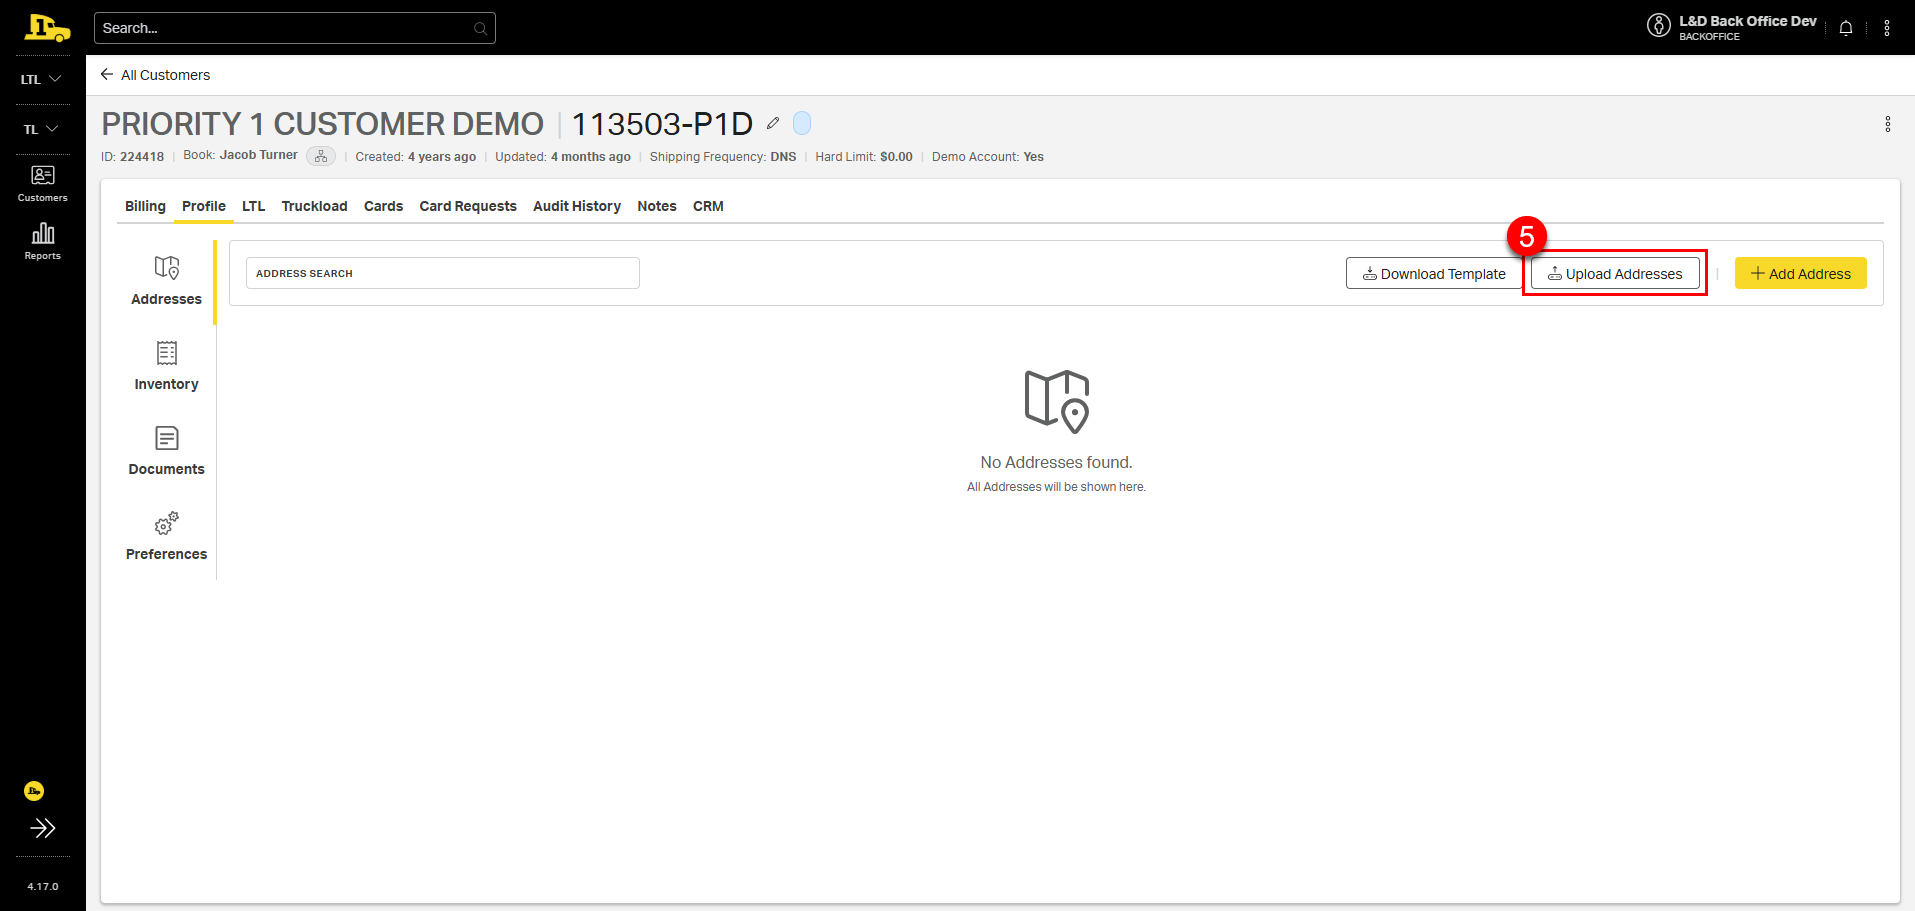
5. Select Upload Addresses.
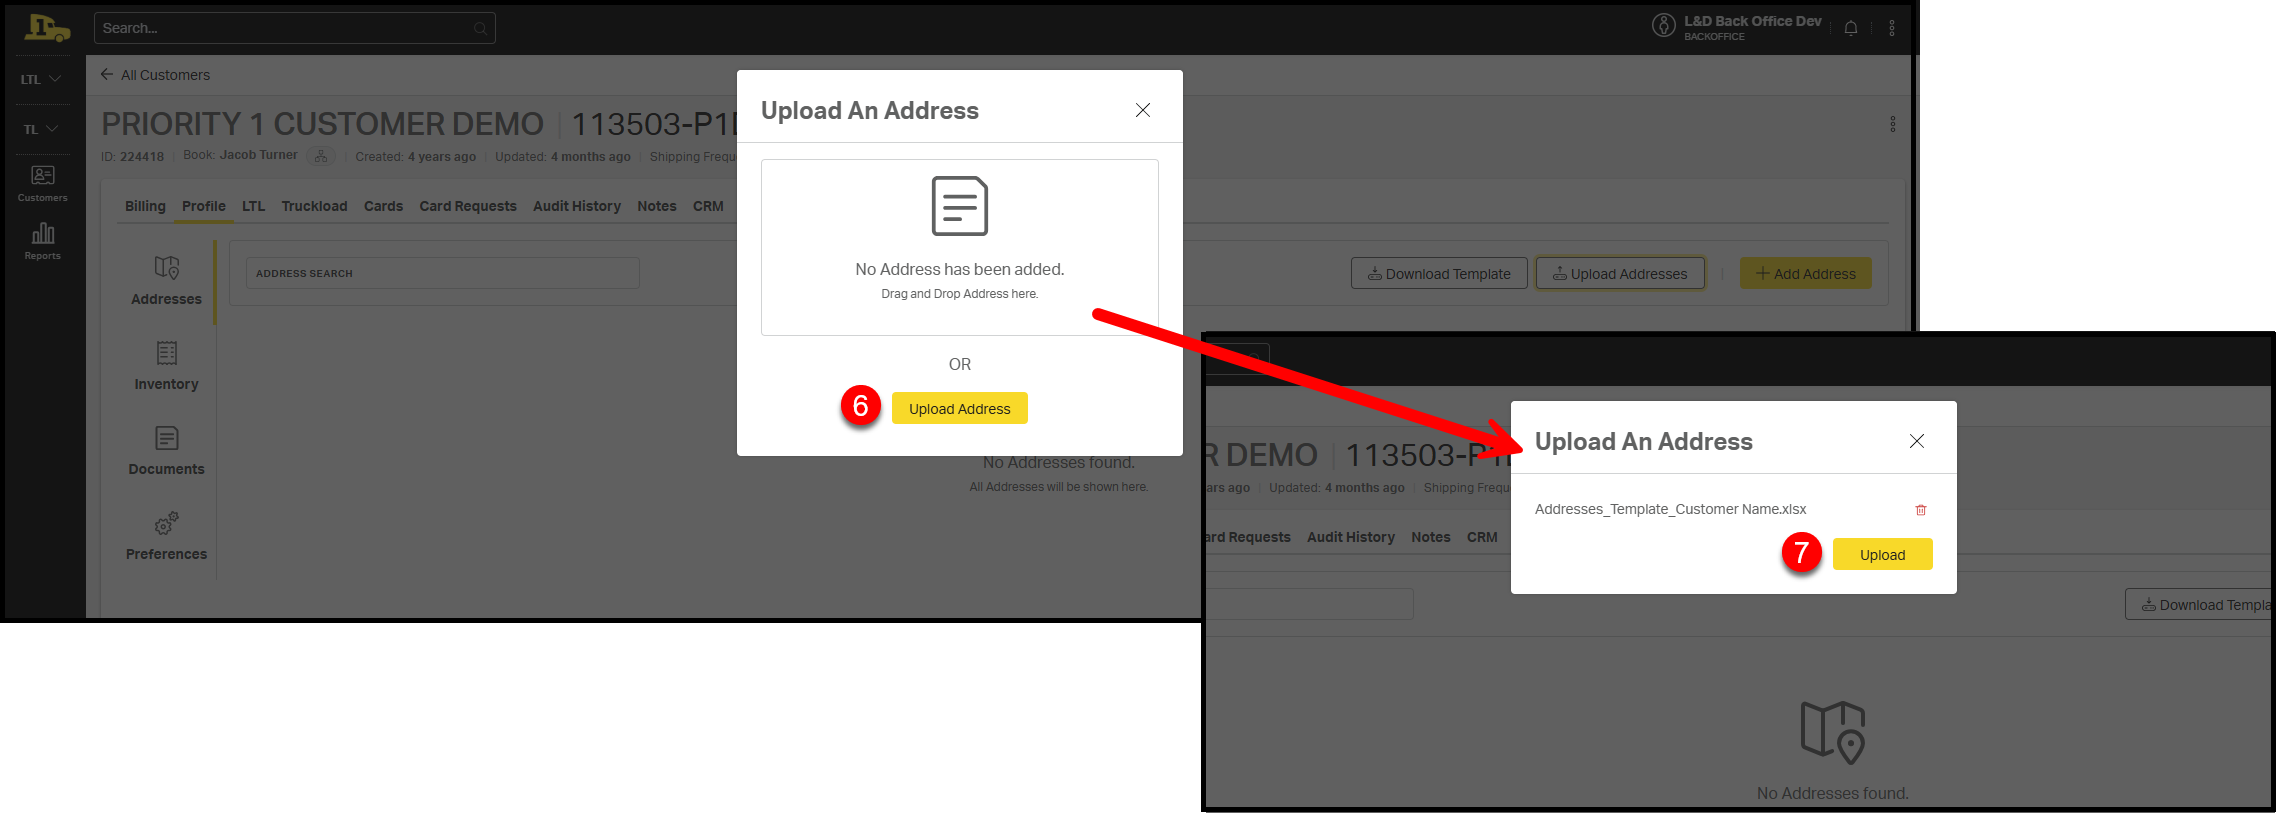
6. Select Upload Address to add your saved address template file.
7. Select Upload Address again on the resulting confirmation screen.
The uploaded addresses will be listed on the main Addresses screen.
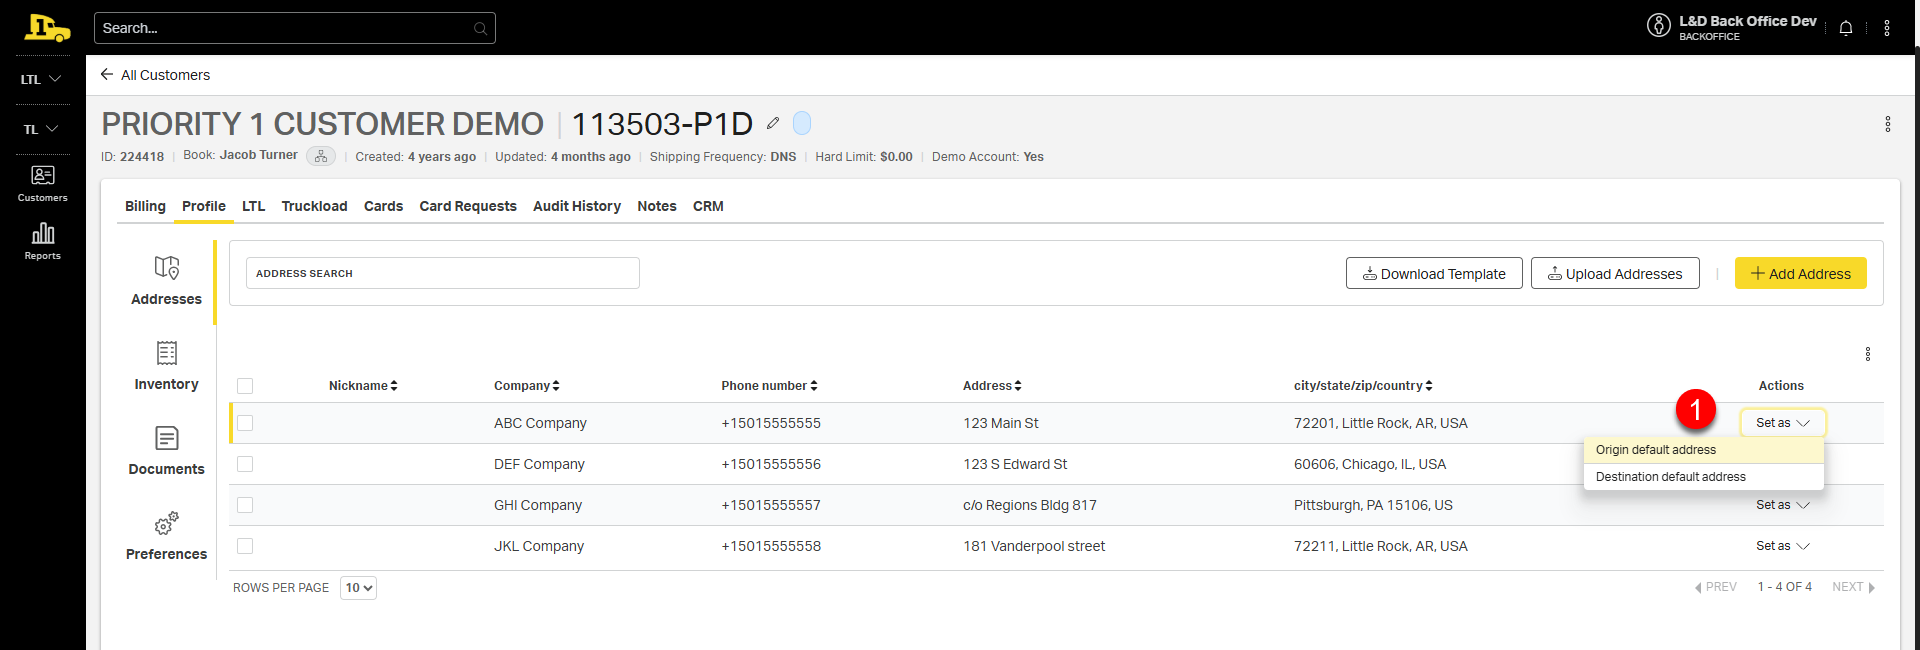
Setting and Editing Default Addresses
For customers who consistently ship from or deliver to the same location, designate a Default Origin Address or Default Destination Address. Default addresses are automatically added to future quotes to streamline the quoting process.
- To set a default, select Set as next to the address, then choose Origin default address or Destination default address.
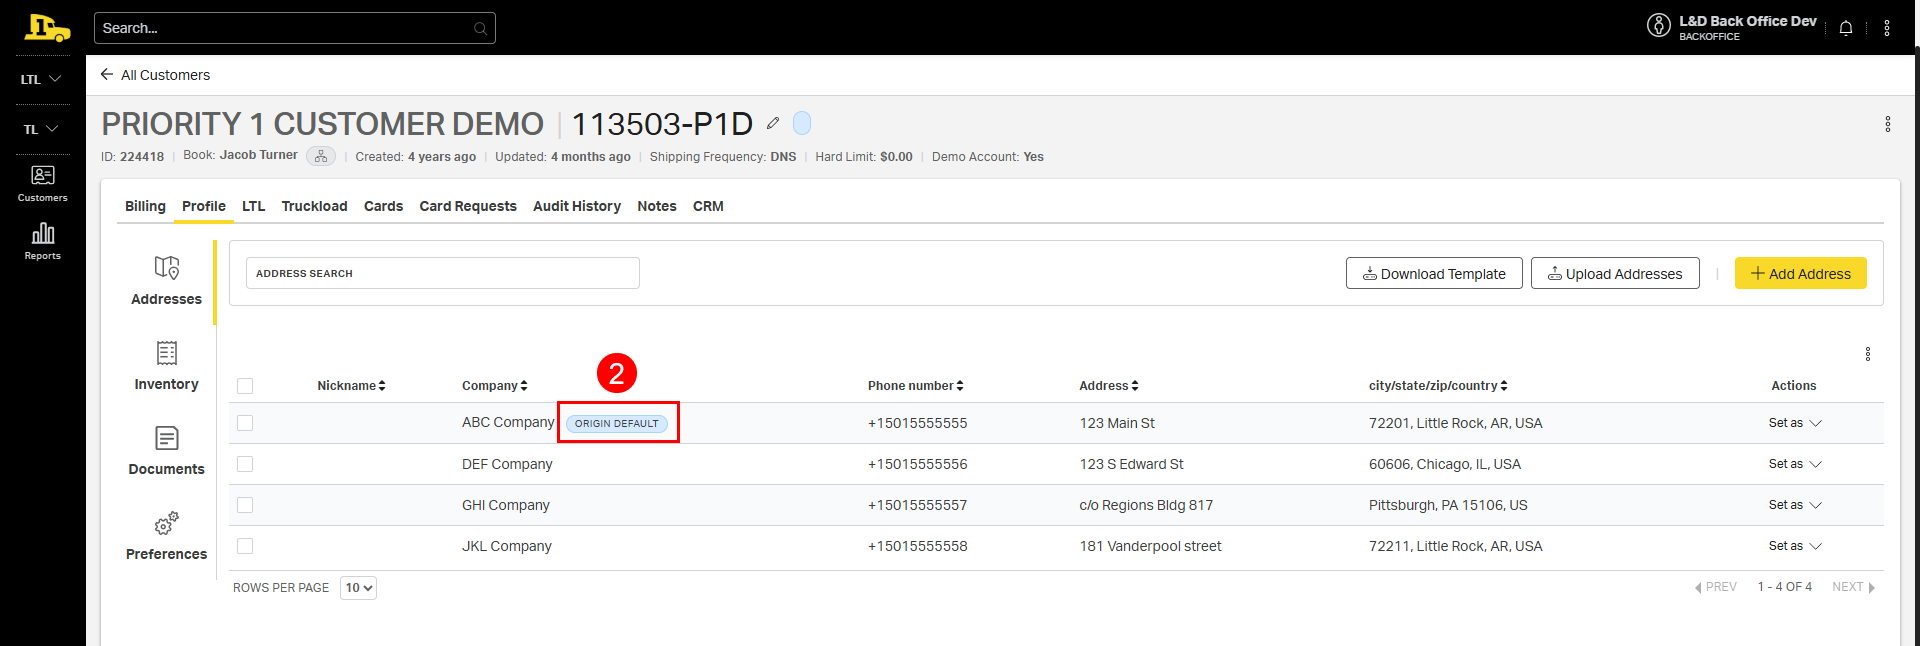
- A default tag will appear on the chosen address.
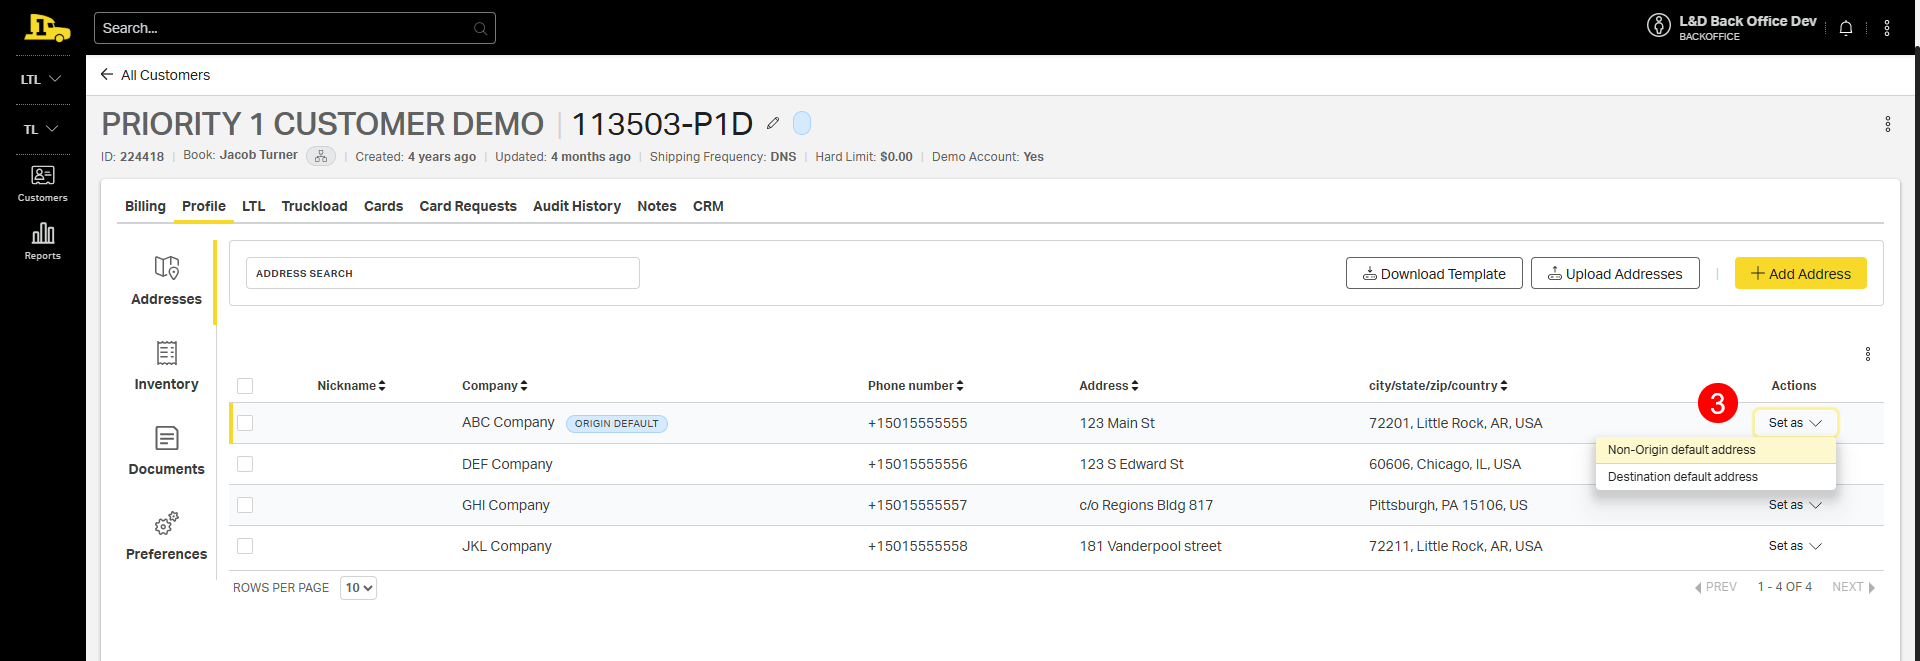
- To remove a default, select Set as again and choose Non-origin default address or Non-destination default address.
Address Settings
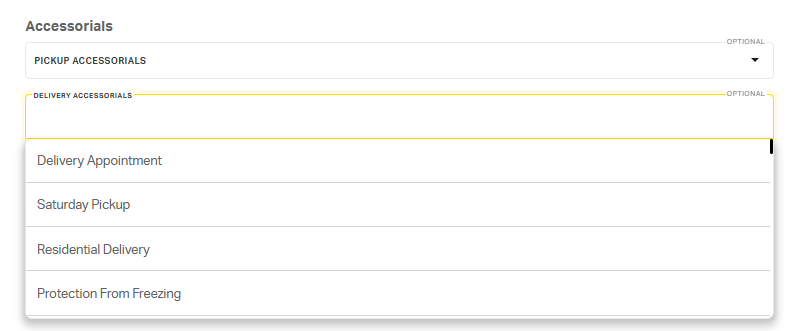
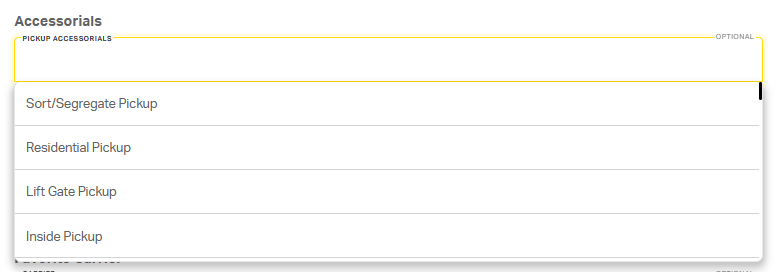
1. Accessorials: Tag any accessorials that will always be needed for this address for pickup, delivery, or both. Selected accessorials will auto-populate on the quoting page when this address is selected.
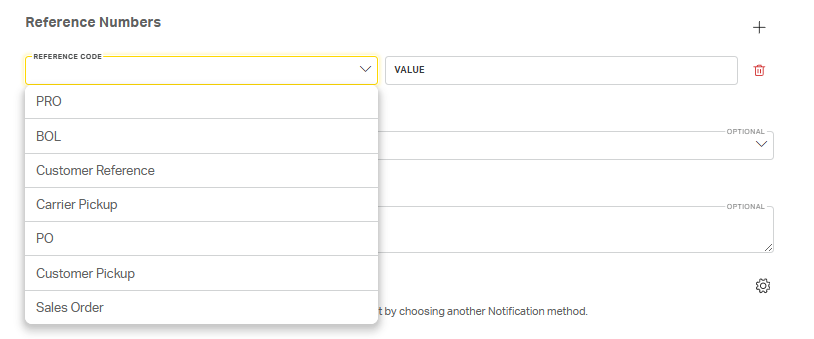
2. Reference Numbers: Add any reference numbers that should be linked to this address, such as PO, SO, or any other customer specific reference numbers. Selected reference numbers will auto populate on the BOL when booking shipments to/from this address.
3. Favorite Carrier: Selecting a favorite carrier ensures their rate appears at the top of the quoted rates page for quotes using this address, along with a PREFERRED CARRIER tag next to the favorited carrier's name.


4. Notes: Specify any notes that should be added to the BOL for any shipments going to/from this address.

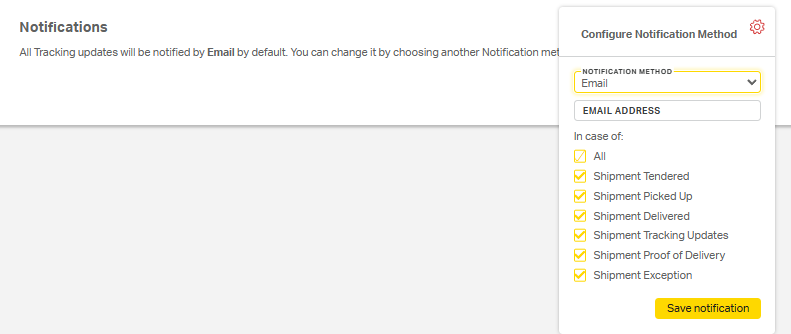
5. Notifications: Set up specific contacts to get notified for any updates on shipments going to/from this address. Select the gear wheel icon, specify contact method (email, text, or web), type in contact information, then select which notifications they should receive (shipment tendered, tracking updates, etc.) and then Save notification.
Using a Saved Address
On the New Quote or LTL Pickup and Delivery Booking Page Page:
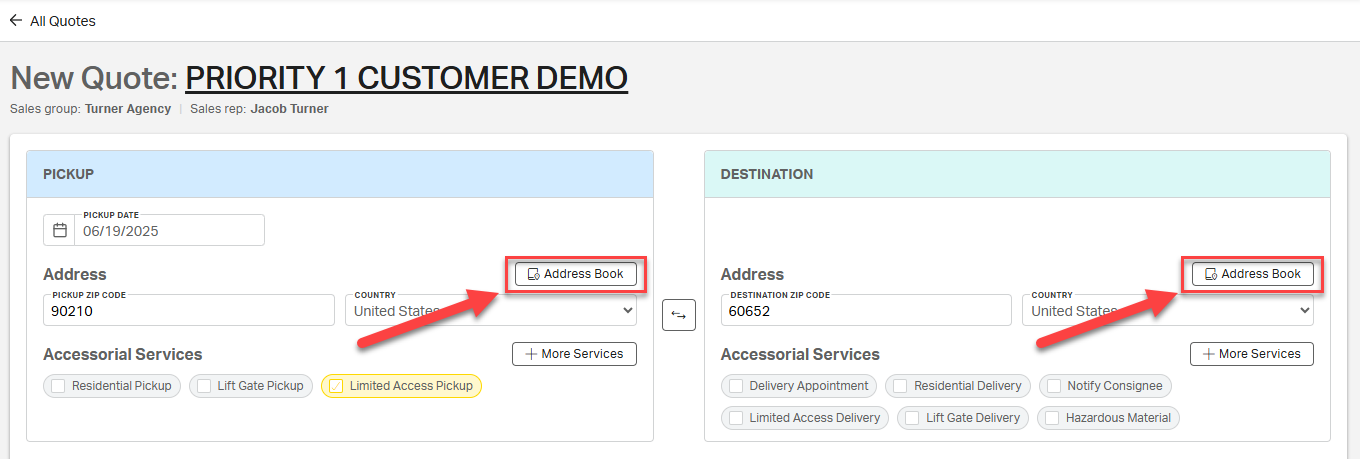
1. Select Address Book in the Pickup and/or Destination forms.
2. Select the desired address from the list.
3. The address fields will auto-fill with the saved information.
Example New Quote Page
Example LTL Pickup and Delivery Booking Page

Why It Matters
Using the address book:
✅ Saves time during quoting and booking
✅ Reduces address and accessorial errors
✅ Improves delivery accuracy and communication
✅ Ensures consistent, reliable contact information